Here it comes, the first post of my journey developing a Ray Tracer using .NET Core on a Mac, using only VS Code. If you didn't, I recommend you read my introductory post which explains what I'm trying to achieve and why.
In this first post I'll talk about the libraries and tools I decided to use, and how I setup the project structure using the dotnet CLI.
Tools used
The only two tools I'm using are VS Code and the dotnet CLI. Let's see how I configured the two.
VS Code
As I mentioned in the introduction to this series of posts, I'm using VS Code, with the basic C#/Omnisharp extension that comes when you download VS Code. In addition, I'm using two other extensions:
- the C# Extensions, which adds some nice contextual menu and some additional refactoring;
- the .NET Core Test Explorer, which adds a tree-view UI for all the tests in the workspace.
dotnet CLI
The other tool I use, which comes with .NET Core, is the dotnet CLI. One thing I learned while going through the documentation is that it supports TAB completion, but, in order to have it, it must be configured. You can follow the steps on the page "How to enable TAB completion for .NET Core CLI" in .NET Core doc site.
But, in short, add the following code to the ~/.bashrc file.
# bash parameter completion for the dotnet CLI

_dotnet_bash_complete()
{
  local word=${COMP_WORDS[COMP_CWORD]}

  local completions
  completions="$(dotnet complete --position "${COMP_POINT}" "${COMP_LINE}")"

  COMPREPLY=( $(compgen -W "$completions" -- "$word") )
}

complete -f -F _dotnet_bash_complete dotnet
Normally Linux-based systems run this script every time the terminal is opened. But the default MacOS Terminal app runs another file, the ~/.bash_profile (which is normally executed only at login). Other terminals might behave differently, so it's better to add the script in both places. You can either copy the same code in the other file or just include the following lines in the .bash_profile file, so that it automatically calls .bashrc.
if [ -f ~/.bashrc ]; then
   source ~/.bashrc
fi
Libraries used: xUnit
I'm pretty sure some NuGet packages already exist to compute vector and matrix computations, and for saving images. But that would defeat the point of the whole exercise. The only external library I'm referencing is the testing framework.
The book already provides the full test suite in Gherkin format to be used with Cucumber, so the obvious choice, to save time, would be to use the .NET counterpart of Cucumber: SpecFlow.
But despite supporting .NET Core, it seems that SpecFlow relies heavily on its Visual Studio plugin in order to parse the feature files and generate the executable tests. I found some posts explaining how to do it without, but I'd rather start coding instead of spending time working around limitations of one specific testing framework.
So I'll just start with xUnit, and after the first few chapters are completed, go back, try to make SpecFlow work on .NET Core without Visual Studio, and re-implement the tests.
Creating the project structure using the dotnet CLI
The project is simple: two projects (one .NET Standard class lib and one test project) and a solution to link them together.
And here comes the first bit I learned in this process: the dotnet CLI is awesome! You can create solution files, projects and also adding projects to solutions and adding references from one project to another.
All without any manual editing of the files.
dotnet new sln -o src -n ray-tracer-challenge
cd src
dotnet new classlib -o raytracer -n codeclimber.raytracer
dotnet new xunit -o xUnit -n codeclimber.raytracer.xUnit
dotnet sln add **/*.csproj
cd xUnit/
dotnet add reference ../raytracer/codeclimber.raytracer.csproj
cd ..
dotnet build
dotnet test
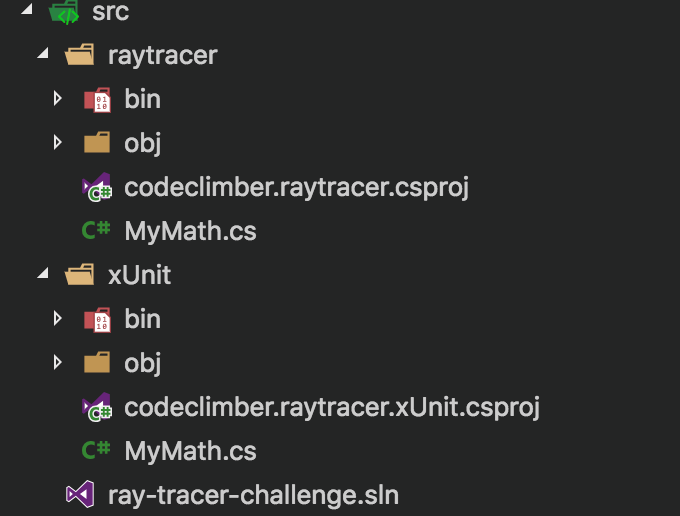
This list of commands creates a solution inside a folder called src and 2 projects in their own sub-folders. Then it adds them to the solution, adds a reference from the testing project to the class library, and finally, build and run the tests.
You can see the code at this point in time by going on the Github repo of this project and switching to the two branches:
- Chapter 0.1 - Just a script that uses the dotnet CLI to create the project structure and makes sure everything is working fine.
- Chapter 0.2 - The basic projects (lib and xUnit test lib) with simple code to make sure testing works fine.
Conclusion
Now that the environment is setup correctly, in the next post I'll start implementing the exercises of the first chapter of the book The Ray Tracer Challenge - A Test-Driven Guide to Your First 3D Renderer.
You can see the full list of posts in the introduction to the series.
