Deploying to Azure can be done with WebDeploy, as seen yesterday, but we can also go one step further and setup a continuous deployment using Git.
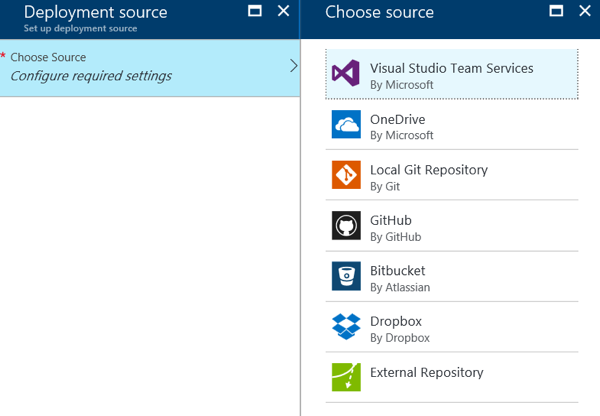
The first step is to create the App Service directly in the Azure portal, and then configure the Deployment Source.
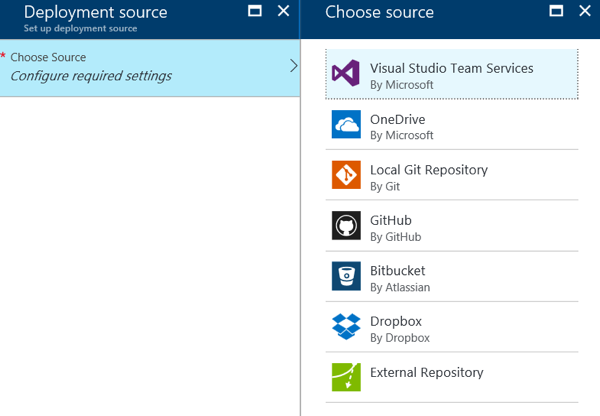
As you can see from the image you can select Visual Studio Team Services, a local Git repository or hosted git like Github or Bitbucket, or even file storage like Drobpox or OneDrive.
The easist solution is configuring a Local repository directly in Visual Studio and then add as additional remote the git repository just created from the portal (the url can be found in the overview of the Azure App Service). This can be done either from within Visual Studio or with the Git command line.
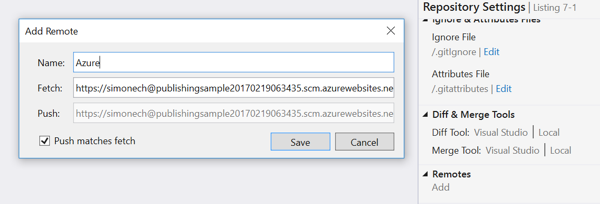
Now the code can be pushed to the remote, either directly from Visual Studio or from the command line. As part of the push operation, Azure launches the publish command, which restores all NuGet packages and builds the application using the project file. Every time a commit is pushed to the repository, the publish process starts, effectively implementing a continuous deployment scenario.
If you created the remote within Visual Studio, the remote is not tracked by the local repository, so the first time you want to push, you have to do it from the Command Prompt and type: git push -u azure master. The -u option instructs git to start tracking the remote branch.
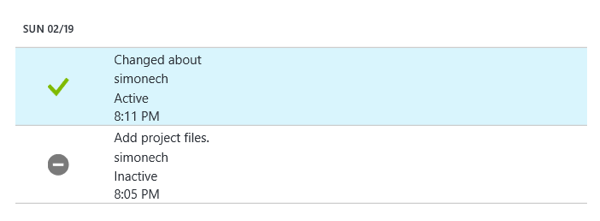
On Azure portal you can see the list of deployments and the log message for each commit.
This article was short summary of the chapter about deploying ASP.NET Core from my upcoming book "Front-end Development with ASP.NET Core, Angular, and Bootstrap"
To know more about what I'm publishing, don't forget to check my blog again, subscribe to my RSS feed, follow me on twitter or like the Facebook page of my book.
