It's day 22 and till now I've shared two or three extracts from all the chapters, in the order in which they appear on my upcoming book "Front-end Development with ASP.NET Core, Angular, and Bootstrap". For today I'll still share something from the last chapter: how to enable social media authorization to an ASP.NET Core application.
Adding social media authentication is easy with ASP.NET Core. You start by creating another project, still as an ASP.NET Core MVC project, and selecting Individual User Accounts as the Authentication mode. This way the project template will add the database entities, controllers, and views to collect and store all the information needed to create a private site where users can register either directly (providing a username and password) or via OAuth providers like Facebook, Twitter, Google, Microsoft, GitHub, and others.
Adding a social login is just a matter of adding the right Nuget package and configuring the authentication provider in the ConfigureService method in the Startup class. For example, to add a Facebook login, add the Nuget package Microsoft.AspNetCore.Authentication.Facebook. Then add the following lines of code in the ConfigureService method:
services.AddAuthentication().AddFacebook(facebookOptions =>
{
    facebookOptions.AppId = Configuration["Authentication:Facebook:AppId"];
    facebookOptions.AppSecret = Configuration["Authentication:Facebook:AppSecret"];
});
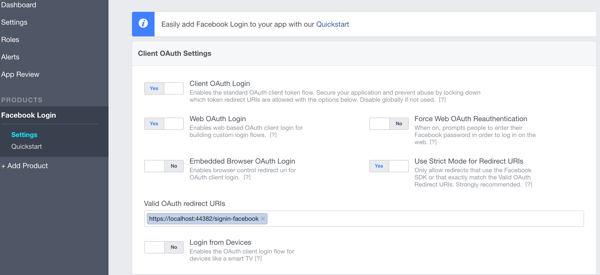
Now you have to register a new application on the Facebook developer portal in order to get the AppId and AppSecret needed to authenticate your application with Facebook. Go to the URL https://developers.facebook.com/apps/ and click on the Add a New App button and add the basic information for your app. Once done go the settings and enter the URL for the OAuth redirect page, which is /signin-facebook (but you need to specify the absolute URL, so also http://localhost:nnn). This route is added by the Nuget package for the Facebook authentication.
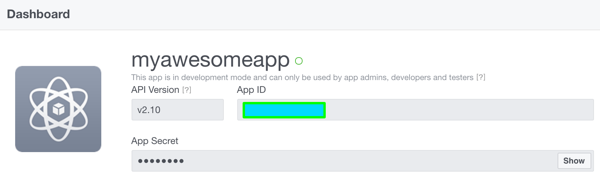
The last thing is to retrieve the AppId and AppSecrets needed for the application to work. For this go to the Dashboard inside the developer portal

Now that you have these values, you have to store them in the settings of your application. Since these are sensitive data, you don't want to accidentally commit them to a public source repository, so it's better to store them in the User Secrets.
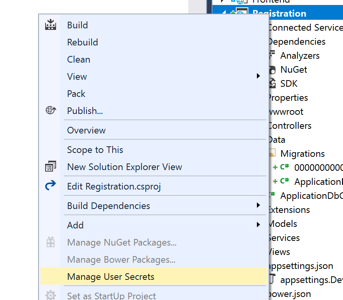
The file is stored in the user profile, still easily readable, but in theory only by its owner. The in production these information can be passed to the app in different ways, like shown when explaining the configuration of app settings inside the WebHost.
{
  "Authentication": {
    "Facebook": {
      "AppId": "myappId",
      "AppSecret": "myappsecret"
    }
  }
}
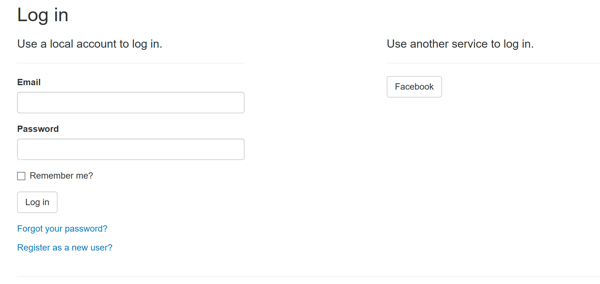
Now just launch the site and you'll see a new button to sign-in and log-in via Facebook.
This post is an extract of chapter 9 of my upcoming book "Front-end Development with ASP.NET Core, Angular, and Bootstrap". To know more about what I'm publishing, don't forget to check my blog again, subscribe to my RSS feed, follow me on twitter or like the Facebook page of my book.